Most users will abandon your app after a single use. That’s why providing a smooth user experience should be among your top priorities. Moreover, each dollar invested in usability could return as much as $100. And the first step towards improving your UX is running usability testing.
For the past 14 years, MindK has been building web and mobile apps with a focus on UI/UX design. To help you craft exceptional user experience, we’ve gathered everything you should know about usability testing.
What is usability testing
Usability testing (aka UX testing) allows you to see how easy your website or mobile app is to use. By observing how real users interact with your product, you can discover the issues that prevent them from fully enjoying the experience.
Familiarity with the system or love for certain features might cause the development team to overlook some UX gaps. That’s why testing your app with real users, not developers or good friends, is an absolute must for any business.
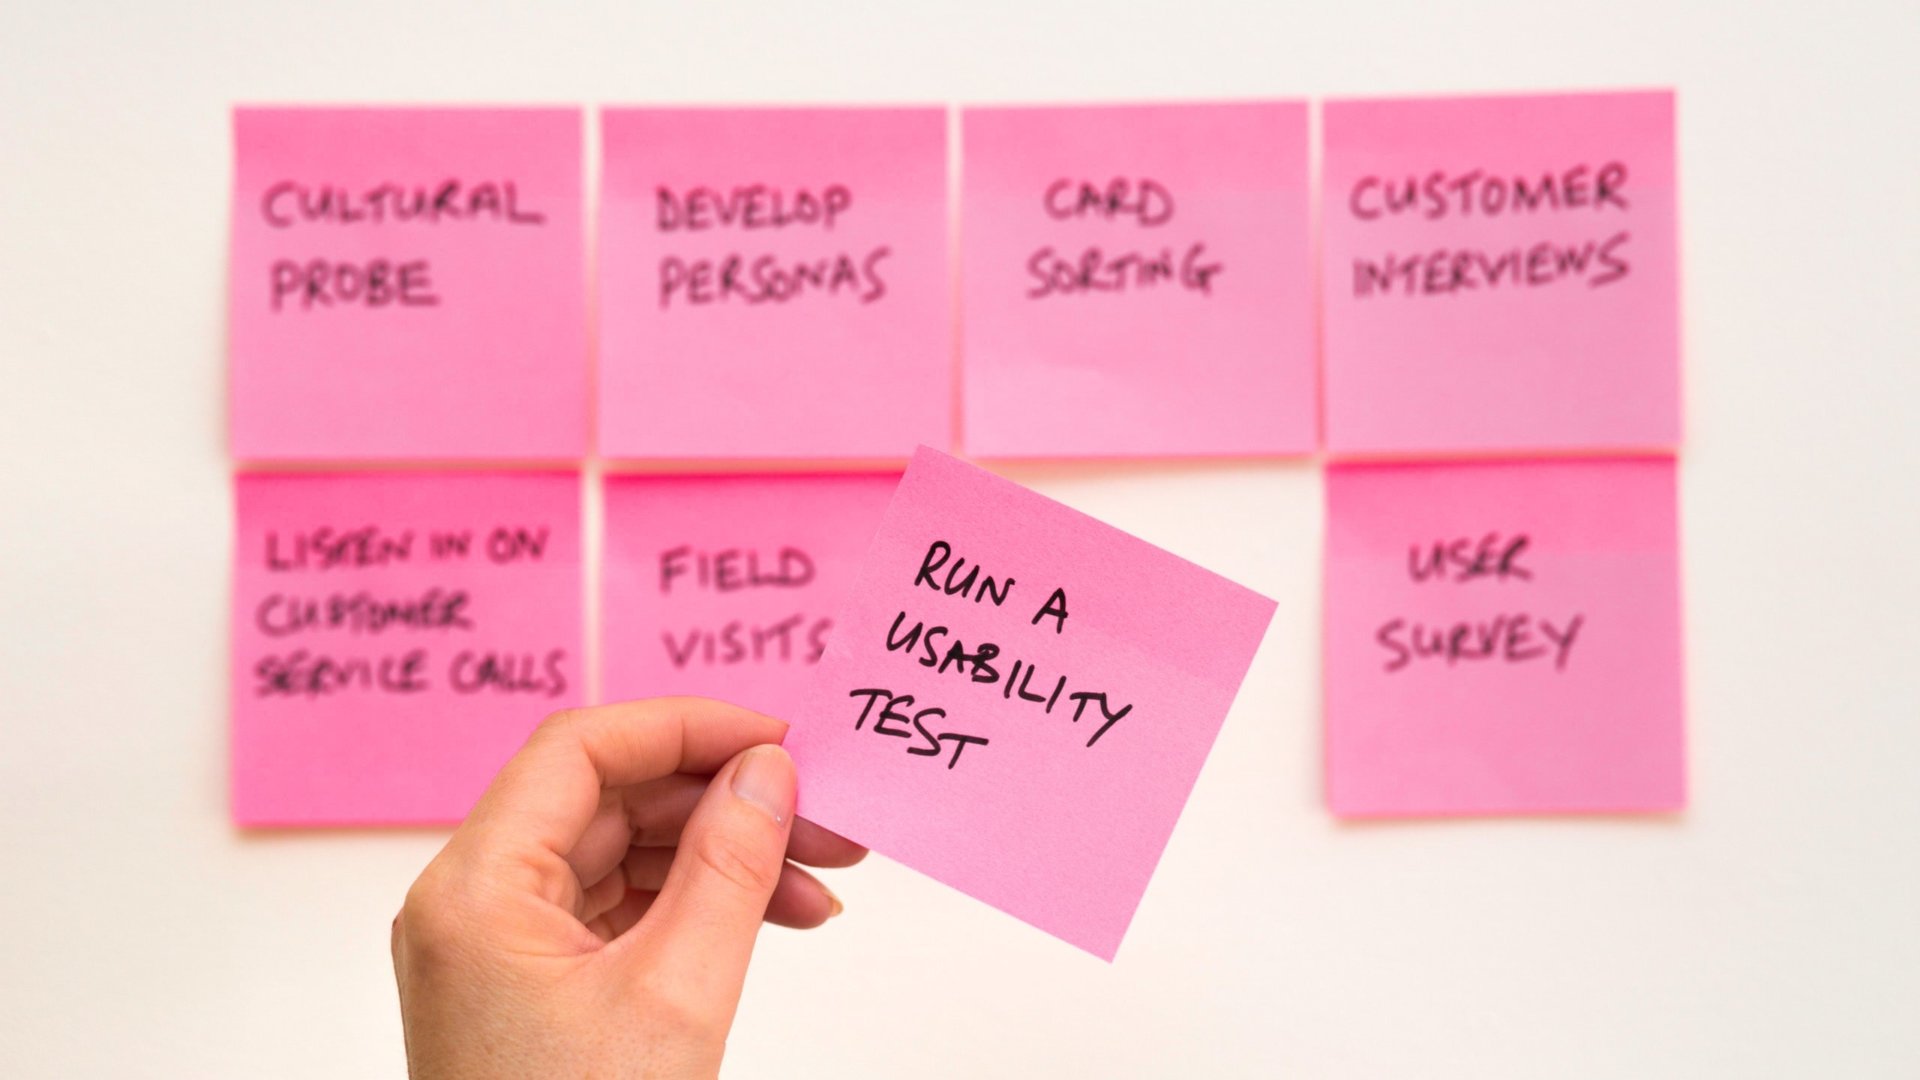
Credit: Silicon Valley, HBO
Among the main benefits of usability testing are:
- learning whether your product meets user expectations;
- detecting UX inconsistencies and ways to improve user satisfaction;
- gathering unbiased feedback;
- developing empathy towards your user base;
- learning the why behind data gathered via other methods like A/B testing or heat maps;
- receiving buy-in from stakeholders for necessary changes; and
- decreasing the risk of building the wrong product.
Usability testing can save you a ton of time and money by revealing issues while they are still easy to fix.
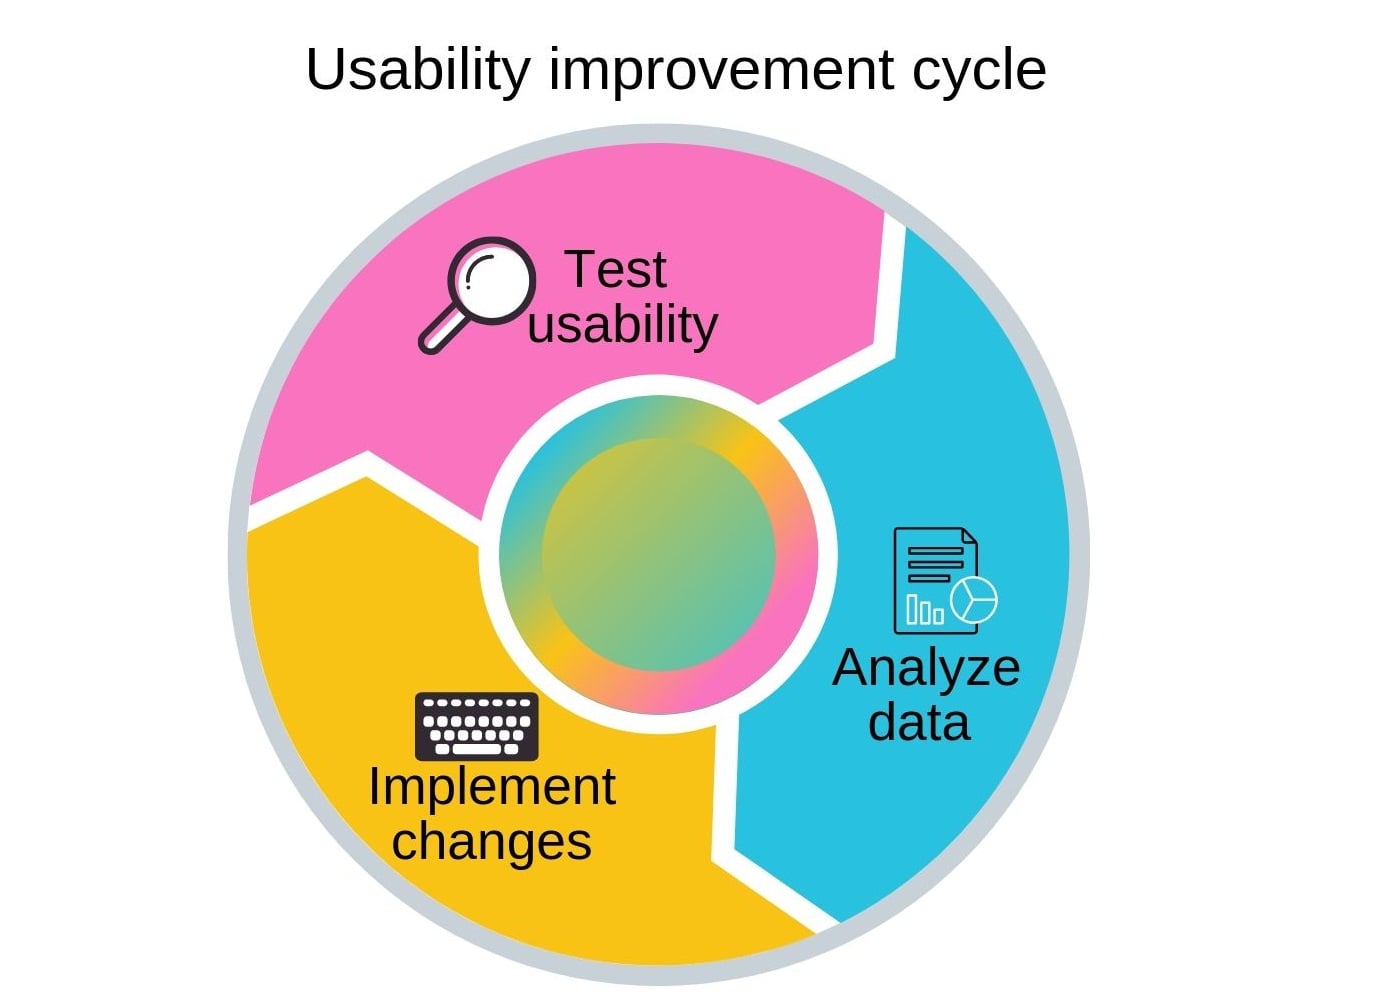
You can start a usability evaluation at the prototyping stage and repeat it with each update to ensure they don’t introduce any new issues. This makes usability testing an iterative process where each new cycle improves and refines the UX.
Usability testing methods
There are a number of usability testing methods, each having different benefits
| Moderated usability testing | Exploratory usability testing | Unmoderated usability testing | Hallway usability testing (guerilla testing) |
| A highly structured session, often in a lab setting, observed by a researcher who can either silently take notes or get actively involved in the test. | An open-ended session without predefined tasks or moderation. | Performed without supervision; typically using specialized software. Instruct testers by phone and record their actions with screen capture apps. | Impromptu session in a high-traffic area like a shopping mall or cafe. Testers are chosen at random and asked for feedback. |
| Gain deeper insights by asking follow-up questions and observing facial expressions/body language of participants. | Allows you to get insights into the target market at the initial stages of development | Remote usability testing allows you to recruit a larger, geographically distributed audience at lower costs. | Guerilla testing allows you to collect large amounts of feedback from a diverse audience. |
| Typically more expensive. | Can’t test specific design elements. | Can’t observe body language/facial expressions. | Time limit doesn’t allow for in-depth exploration. |
How to perform usability testing
Now that you know about different types of usability testing, let’s see how to organize a testing session. For the purpose of this article, I’ll focus on moderated usability testing as it allows you to gain the deepest insights by asking follow-up questions and observing participants’ body language.
#1 Plan your tests
The planning phase is the most important part of usability testing. Decisions made at this stage will determine the success of the whole undertaking.
You’ll need to decide:
- Where and when to run your tests;
- Which elements of your website to test;
- How to recruit participants;
- How to organize the testing sessions;
- Which success metrics to use.
Most startups won’t likely have a dedicated room for usability testing. However, you don’t need a formal lab setting for UX tests. So try to find a convenient room with few distractions and enough space for your participants, moderator, and observers.
If you think that your office will make people feel restricted, you can always organize guerilla testing in a local cafe.
Take care of the recording equipment. Ideally, you’ll need a camera to film user reactions and screen recording software like Flashback Express (Mac/PC) or Apowersoft Unlimited (mobile) to record their actions within your app.
Plan each test to last 30-60 minutes.
It’s also recommended to include a 30-45-minute break between each round of testing.
Define the scope of testing. Be realistic. You have limited time and lots of questions to address. Decide which elements of your website you’ll be testing and create your tasks.
Depending on your objectives, you might test the key actions in your app like filling a cart and making a purchase.
Be specific with your tasks but don’t turn them into step-by-step guides. Remember, you want users to figure out the tasks by themselves.
As a rule, you should have no more than 12 tasks per session.
After you decide what you’ll be testing, it’s time to set clear success metrics for every task (e.g. time to complete, success %, expectations delivered, etc.).
Write your test scripts. Start with background information about your product, elaborate on the tasks, and write a post-testing questionnaire.
Make sure you have all the necessary resources before you organize the tests. Run a pilot session with your team to check your tasks and make sure that all equipment works correctly.
#2 Select users
Now it’s time to recruit participants. Usually, testers will represent different sections of your target audience (i.e. different user personas). They can be recruited according to their demographics (e.g. gender, age, level of income, etc.) or psychographics (e.g. how experienced they are with performing similar tasks).
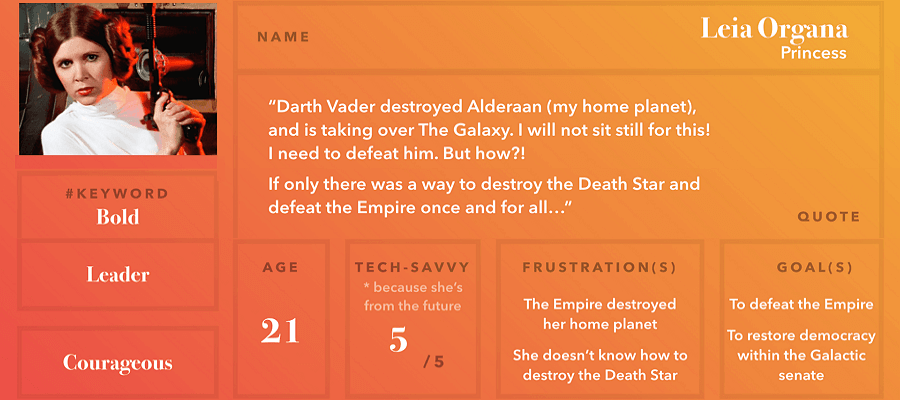
User persona example; source: UXplanet.org
According to Nielsen Norman Group, 5 is the optimal number of participants for a usability study allowing you to find up to 85% of usability errors. Additional participants will result in diminishing returns as they will mostly discover the same problems as previous users. This means at least 15 participants would be necessary to reveal close to 100% of potential UX issues.
However, if you don’t have enough resources, it’s still better to test your app with a single user than not to test at all.

Source: Nielsen Norman Group
There are several ways you can recruit participants for user experience testing:
- Ask random people on the street (hallway usability testing);
- Place a pop-up on your website;
- Reach out to existing clients;
- Address your social media following;
- Hire a UX testing agency;
- Use online usability testing tools like UserTesting, Ubertesters, or validately.com;
- Ask coworkers from other departments.
Make sure not to recruit professional testers, friends, relatives, and people who don’t fit your target audience.
You can prepare a Google Forms survey to learn the demographics and psychographics of potential testers. Each time users complete the form, you’ll get an email notification and their answers will be automatically added to a table that you can view from your dashboard.
Your survey can include such usability testing questions as – What is your age/gender/income bracket? What level of education do you have? What devices do you prefer? Have you ever used [your app] or similar websites?
And don’t forget to prepare an incentive for your participants. You can reward them with various bonuses, discounts, gift cards or some cold hard cash.
#3 Conduct tests
Make your testers feel at ease. Prepare coffee or refreshments and explain what you’re expecting from them.
Make it clear that you are testing the application, not the users. Ensure they’re comfortable with your physical setup and explain what is going to occur during the test. If you’re going to record the session, don’t forget to ask for permission.
The main aim of these first few minutes is to get to know your testers and build some rapport.
Go through your test plan, one task at a time.
- Make sure your instructions are as clear as possible to avoid misinterpretation.
- Describe the goal, not how to achieve it.
- Don’t interrupt the test or offer advice.
- Don’t lead users with your questions.
- Don’t jump to conclusions.
Your role in the process is generally limited to listening and observing user behavior.
If they ask questions during the testing, you can give elusive answers (“What do you think you could do in this situation?”) or repeat their question (“So you have trouble finding the necessary filters? How would you go about this task in real life?”)
You can also suggest participants think out loud their actions to understand what’s going on in their heads.
After completing each task, ask for feedback. If users dislike some features, try to learn what specifically they hate about them. Don’t discard positive feedback.
After the testing, you’ll have another opportunity to ask usability testing questions you haven’t asked during the session. At this stage, you’ll be looking both for quantitative (e.g. success rate) and qualitative data (user satisfaction level).
Multiple-choice questions and scales (0-10) are great for quantitative feedback, while open-ended questions are more suited to gathering qualitative data, e.g.:
- What did you think of [your product]?
- How easy was it to use the website?
- What did you like/dislike the most about [your app]?
- What did you think of our layout/copy/navigation? – gather feedback about specific elements of your product.
- What changes would you make to our product?
- How does our website compare to [your competitor]?
And don’t forget to thank users for taking part in your experiment and reward them.
#4 Analyze your data
Now it’s time to analyze the data you’ve collected during the tests. What were the main pain points you wanted to evaluate with your testing?
Create an Excel spreadsheet with a row for each participant and a column for every task like log-in, search, add to cart, checkout, etc.
Go over your sessions one by one, review your notes, watch the recordings. Write down the issues that popped up during the testing. Add user comments and note if they took some unexpected actions.

Extract all hard numbers like time to complete a task, success rate, satisfaction index, etc. for quantitative analysis. Group similar problems to see how many users experienced them on each step of their journeys.
Take a look at qualitative metrics to understand the reasons behind these issues and discover how to overcome them.
Once you have a list of problems with your app, it’s time to rank them based on severity:
- Critical: prevent participants from completing a task;
- Serious: frustrating for most participants;
- Minor: irritating but won’t drive users away.
#5 Create a test report
Now it’s time to act upon your insights. Sometimes, you’ll be able to implement the necessary changes yourself, but often you’ll have to convince stakeholders.
For this purpose, you’ll need a detailed testing report. This is what you can include in such a document:
- A one-page summary of the tested features, your objectives, and a short description of the discovered issues.
- Excel spreadsheet of test participants.
- Methodology. Describe the users you’ve selected for the testing, their tasks, the way you’ve managed the sessions, and your success metrics.
- Results. Include both negative and positive things you’ve discovered to let the team know what is working and what isn’t. Add evidence in the form of screenshots, videos, or session transcripts.
- Recommendations. Offer several solutions for each of the UX problems. The best solutions will often be aimed at several issues at once.
Don’t just send out your report in emails. Organize a meeting with stakeholders and share your findings in person.
Conclusion
Different people think differently and a single problem might have many solutions. Usability testing can help you get another perspective at your work and ensure that no UX errors slip by the development team. If you want to get started with usability testing, check out these resources for more information:
– Usability checklists to help you with any kinds of UX testing.
– Moderated testing plan from Usability.gov for running usability testing in a lab setting.
– Uiaccess.com – a checklist for running tests with people with disabilities.
And if you need help with UI/UX design and custom software development, you can always rely on MindK.